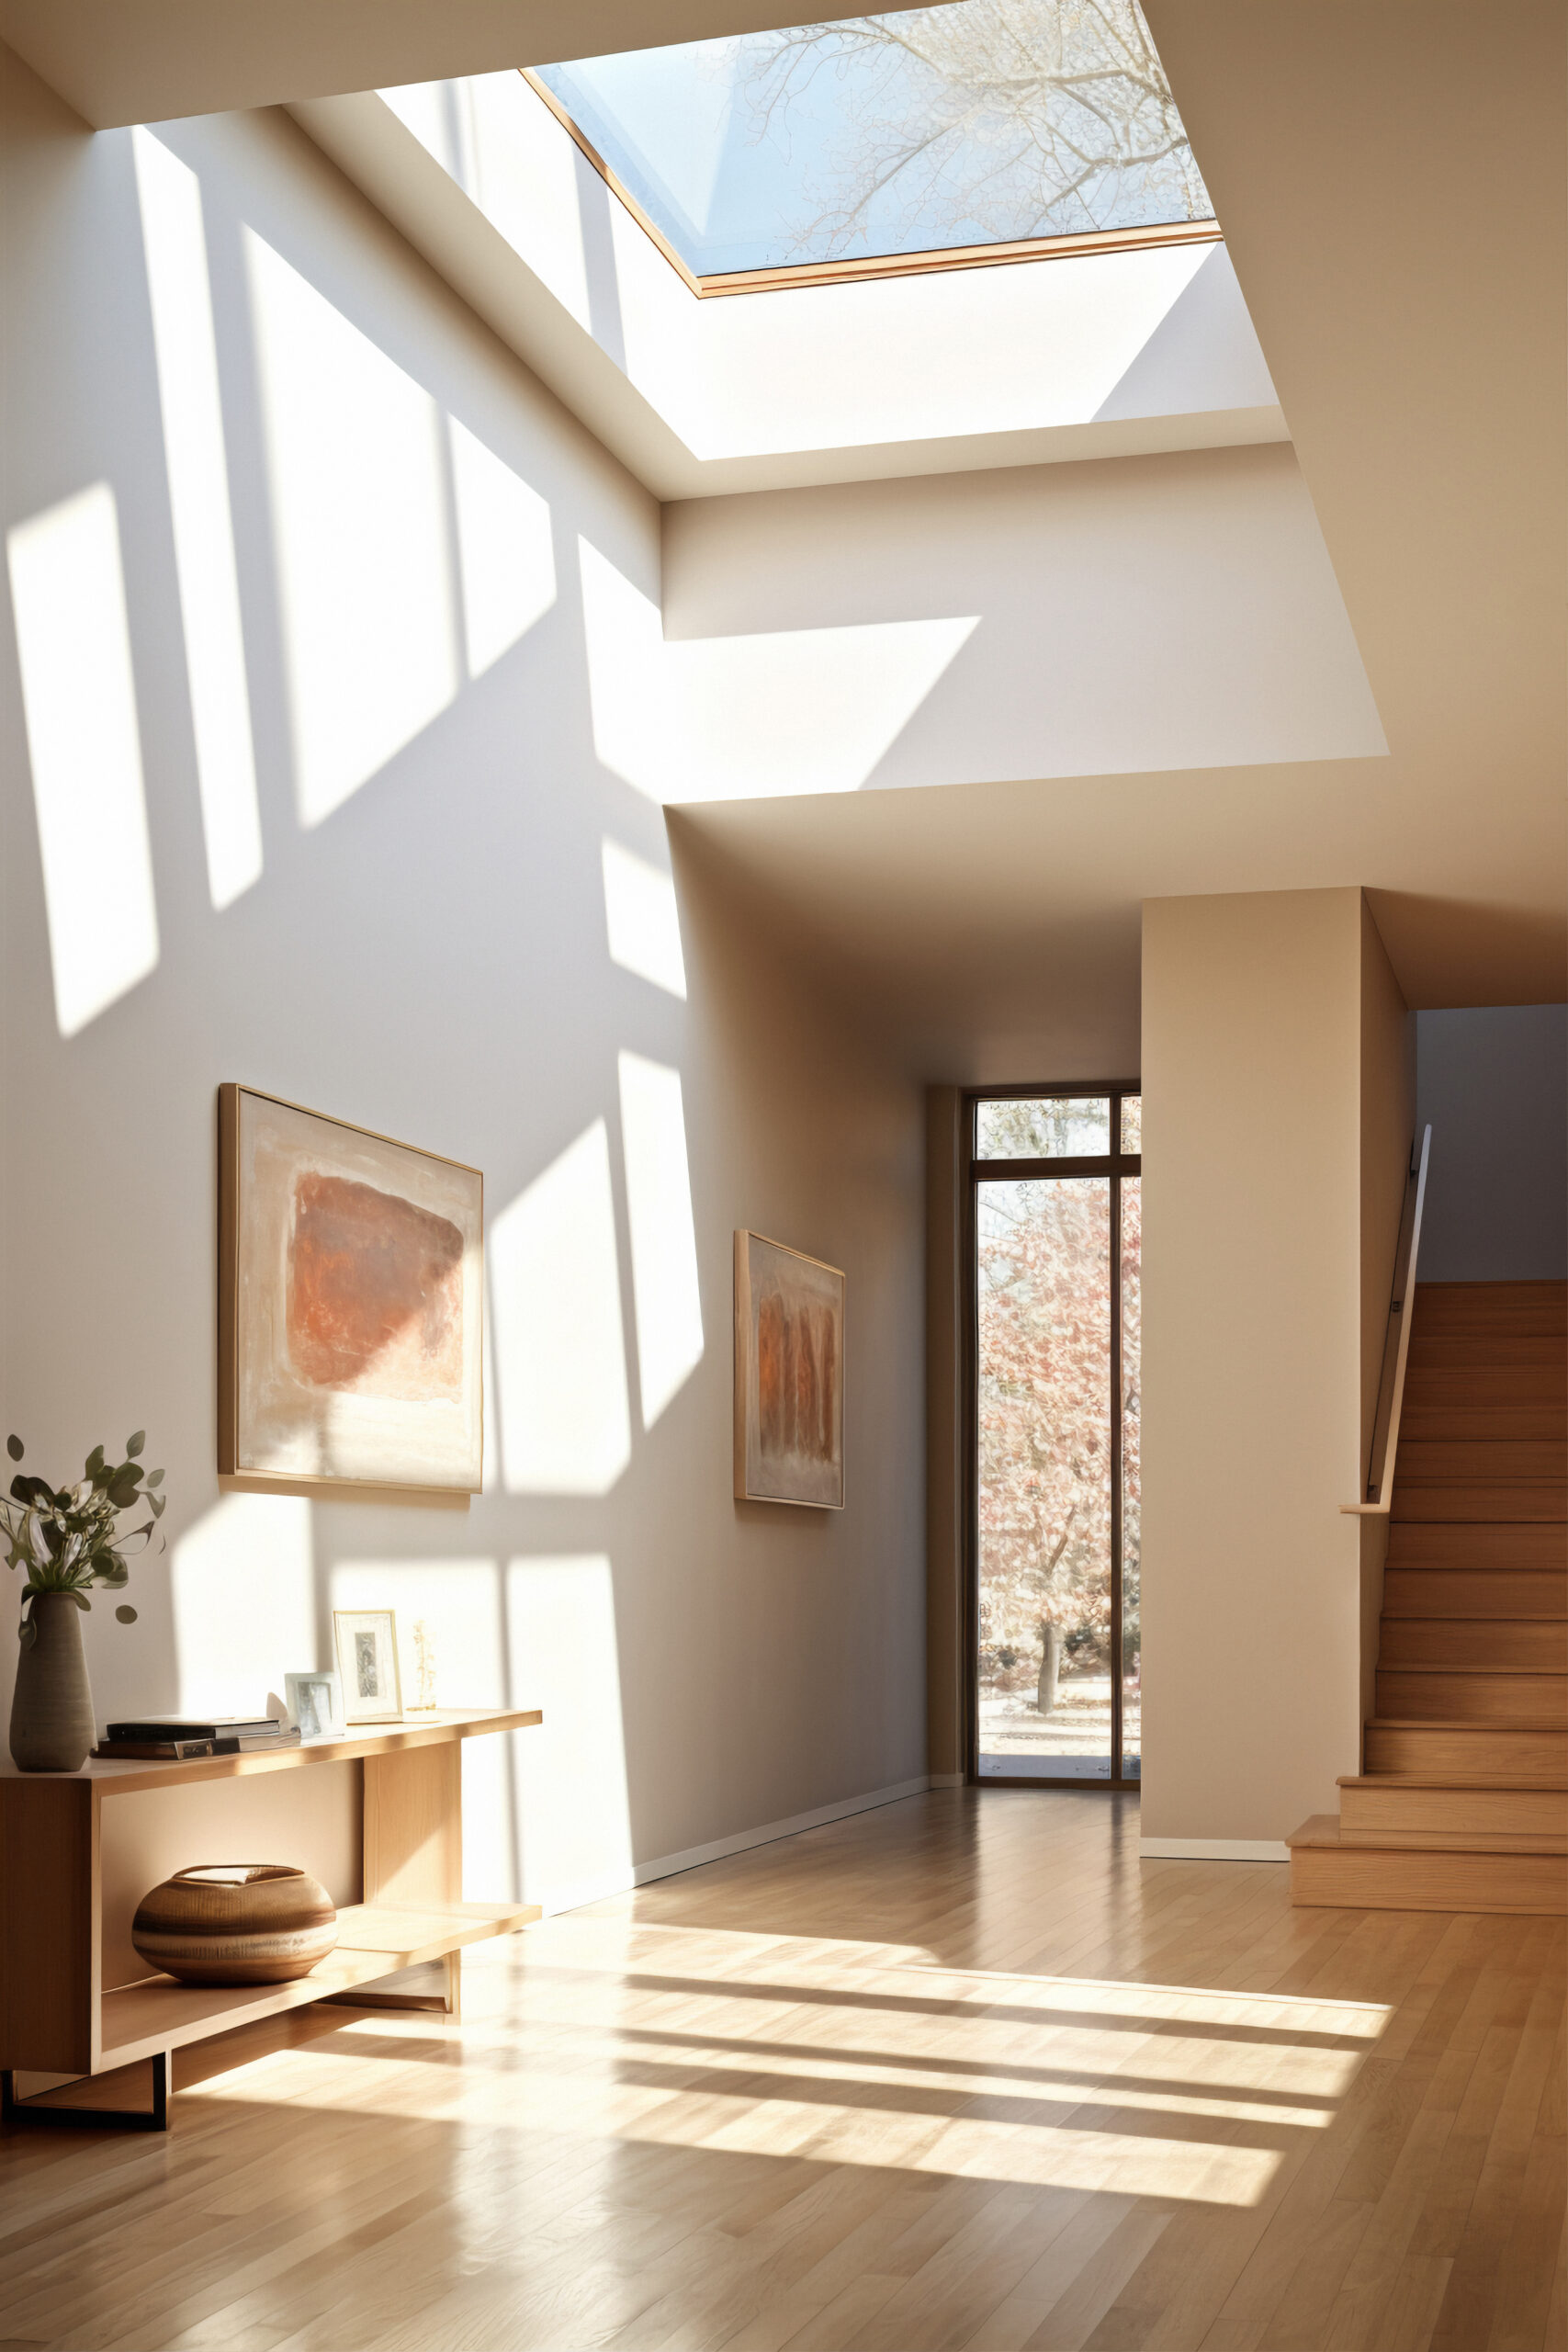
Skylight tubes, also known as sun tunnels, are a popular and cost-effective way to bring natural light into your home. Not only do they enhance the aesthetic appeal of your home, but they also dramatically reduce the need for artificial lighting during the day, saving you money on energy bills. With the right tools and guidance, installing a skylight tube can be a rewarding DIY project. Impactful Construction Group, a CA licensed contractor based in Woodland Hills, serving the entire Los Angeles area, aims to guide you through this process step by step.
Our experienced team at Impactful Construction Group has been involved in numerous skylight installation projects across neighborhoods such as Tarzana, Encino, Northridge, Van Nuys, and Burbank. Today, we’re going to share our expertise with you, detailing how you can install a skylight tube or sun tunnel in your own home.
Table of Contents
ToggleChoosing Your Skylight Tube
Before diving into the installation process, it’s essential to determine which type of skylight tube is best for your home. They come in various sizes, typically between 10 and 14 inches in diameter. The size you choose will depend on the amount of light you want to bring into the space. A larger diameter means more light.
Consider the location and the slope of your roof. Some skylight tubes are better suited for flat roofs, while others are designed for sloped roofs. If you’re unsure, our experienced team at Impactful Construction Group can help you make an informed decision.
You should also consider the material of the skylight tube. Most are made of durable plastic, but some high-end models are constructed from glass. Glass models usually provide better light quality and are more resistant to UV rays, but they are more expensive.
Preparing for Installation
Once you’ve chosen your skylight tube, the next step is preparation. Here’s how:
- First, identify where you want to install the skylight tube. This will usually be a dark room or hallway that could benefit from some natural light.
- Next, measure the space. You need to ensure the skylight tube will fit between your roof rafters or trusses. These are typically spaced 16 or 24 inches apart. If you’re uncertain, don’t hesitate to reach out to us at (323) 591-3717.
- Finally, gather all the necessary tools and materials. You’ll need a saw, drill, ladder, tape measure, pencil, and safety gear such as gloves and goggles.
Installing the Skylight Tube
With everything ready, it’s time to install your skylight tube. This is a detailed process that requires precision and care. If you’re uncomfortable with any step, don’t hesitate to call in the professionals. Our team at Impactful Construction Group is always ready to assist.
We’ll break down the installation process into steps:
- Mark the location on your ceiling where you want the skylight tube to go.
- Cut a hole in the ceiling at the marked location.
- From your roof, drill a hole into the center of the location you just cut from inside.
- Use a saw to cut a corresponding hole in your roof.
- Insert the top part of the skylight tube into the hole in your roof, and secure it using the provided hardware.
- Connect the bottom part of the tube to the hole in your ceiling and attach the reflective tube.
- Ensure everything is secure and well-sealed to prevent leaks.
Maintenance and Care
After successfully installing your skylight tube, it’s crucial to maintain it properly to ensure it continues to provide beautiful, natural light for years to come. Regularly clean the tube’s exterior and interior to remove dust and debris. Check for signs of leaks or damage, especially after severe weather. If you notice any issues, call us or another professional to address them promptly.
FAQ Section
Q: Can I install a skylight tube on any roof?
A: Most skylight tubes are designed to be installed on roofs with a slope between 15 and 60 degrees. If your roof falls outside this range, you might need a custom solution. Contact us for advice.
Q: Can I install a skylight tube myself?
A: Yes, with some DIY experience and the right tools, you can install a skylight tube yourself. However, if you’re not comfortable handling roofing materials or working at heights, it’s better to hire a professional.
Q: How long does it take to install a skylight tube?
A: For an experienced DIYer or professional, it typically takes a few hours. Keep in mind that this can vary depending on the complexity of the installation and weather conditions.
Ready to transform your space? Trust the experts at Impactful Construction Group. As CA licensed contractors based in Woodland Hills, we serve the entire Los Angeles area with premium construction and remodeling services. Call or text (323) 591-3717 for a free consultation and let’s bring your vision to life.
