Welcome to another insightful blog post from Impactful Construction Group, a CA licensed contractor based in Woodland Hills. We’re dedicated to serving the entire Los Angeles area with top-notch construction and home improvement tips, tricks, and services. In today’s post, we’re tackling a hot topic among homeowners and DIY enthusiasts: how to install a ceiling fan where no fixture exists. It’s a common scenario in many homes in neighborhoods like Tarzana, Reseda, and Northridge. While the task may seem daunting at first, with the right guidance and a can-do attitude, it’s absolutely achievable.
Before we dive in, it’s important to note that safety should always be your number one priority when working with electrical fixtures. If you’re uncertain about any part of the process, our experienced team at Impactful Construction Group is always here to help. Now, let’s get started!
Table of Contents
ToggleUnderstanding Ceiling Fan Installation
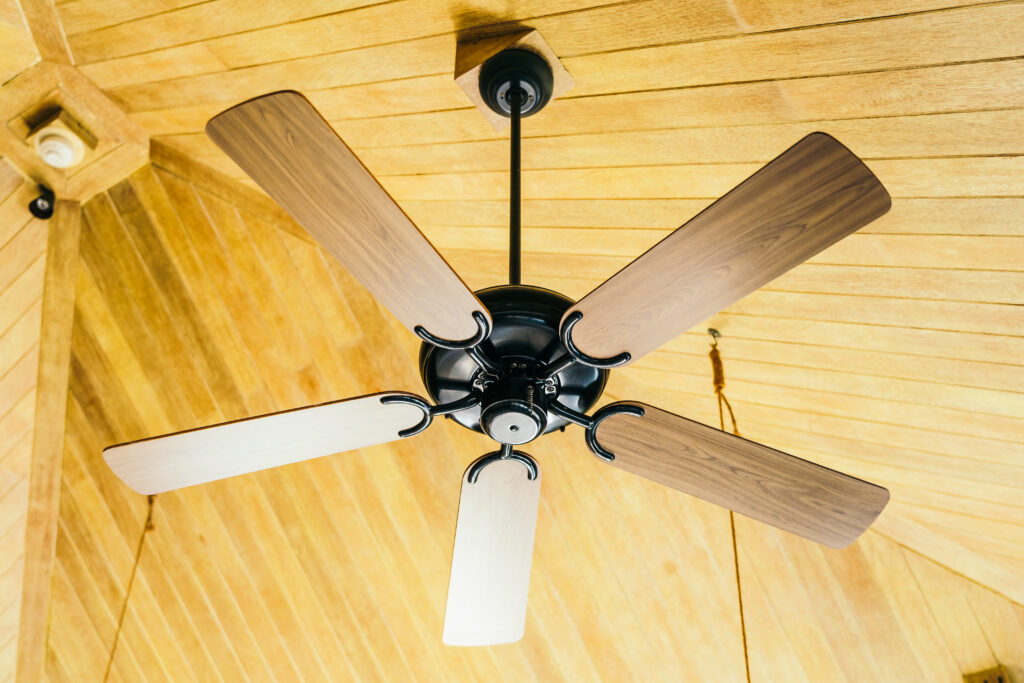
First and foremost, it’s important to understand what the process of installing a ceiling fan entails. A ceiling fan is a great addition to any room; it can provide cooling air circulation in the summer and redistribute warm air in the winter, helping you save on heating and cooling costs. However, installing it where no fixture exists means you’re starting from scratch, which involves more than just hanging and connecting the fan.
Our experienced team at Impactful Construction Group has completed numerous ceiling fan installations in the San Fernando Valley area, and we’ve broken down the process into manageable steps. From planning the location to wiring the fan, we’ll guide you through the entire process.
Planning the Location
Before you start drilling holes or running wires, the first step is to plan the location of your ceiling fan. The location should be central to ensure optimal air circulation, and there should be enough clearance from walls and tall furniture. The National Electric Code (NEC) recommends that fan blades be at least 7 feet above the floor and 8-10 inches below the ceiling. Also, the fan should be at least 18 inches away from the walls.
The location should also be near an electrical source, unless you’re comfortable with running new electrical wiring through your ceiling. This might be a more complex task, especially for older homes in neighborhoods like Burbank and Encino, where the electrical systems can be a bit more intricate.
Installing the Electrical Box and Running the Wiring
Once you’ve decided on the location, the next step is to install the electrical box and run the wiring. This involves cutting a hole in the ceiling, installing a new electrical box, and running the wiring from the electrical source to this box.
Here’s a step-by-step guide:
- Turn off the power at the main circuit breaker.
- Use a stud finder to locate the ceiling joists.
- Mark the center of your fan location between two joists.
- Using a drywall saw, cut a hole at your mark.
- Install a fan-rated electrical box at this location.
- Run electrical cable from the power source to this box.
Remember, safety first! If you’re not confident in performing these steps, it’s best to hire a professional. Our experienced team at Impactful Construction Group is just a phone call away at (323) 591-3717.
Assembling and Installing the Ceiling Fan
With the electrical box in place and the wiring run, you’re now ready to assemble and install the ceiling fan. This process can vary depending on the fan model, so it’s crucial to follow the manufacturer’s instructions.
Generally, it involves attaching the fan motor to the electrical box, connecting the wiring, assembling the fan blades, and attaching the light fixture, if one is included. Once everything is connected and secured, you can restore power and test your new ceiling fan.
FAQs about Ceiling Fan Installation
We’ve covered a lot of ground, but you might still have some questions. Here are answers to some common questions we receive from homeowners in the Los Angeles area.
- Can I install a ceiling fan myself?
- Yes, with the right tools and a little patience, you can install a ceiling fan yourself. However, if you’re not comfortable working with electrical systems or if your home has a complex electrical layout, it’s best to hire a professional.
- Can I install a ceiling fan where there is only a light fixture?
- Yes, you can replace a light fixture with a ceiling fan. However, make sure that the electrical box is rated for ceiling fans, as they require more support than light fixtures.
- How long does it take to install a ceiling fan?
- The time can vary depending on the complexity of the installation, but typically it takes a few hours to install a ceiling fan.
In conclusion, installing a ceiling fan where no fixture exists is a challenging but rewarding home improvement project. With careful planning, the right tools, and a focus on safety, you can add a functional and stylish element to your home. And remember, if you need help along the way, the experts at Impactful Construction Group are always here to assist.
Ready to transform your space? Trust the experts at Impactful Construction Group. As CA licensed contractors based in Woodland Hills, we serve the entire Los Angeles area with premium construction and remodeling services. Call or text (323) 591-3717 for a free consultation and let’s bring your vision to life.


