If you’re looking to add a touch of elegance to your home, tile flooring is a great option. It’s durable, easy to clean, and available in a variety of designs. Installing tile flooring may seem daunting, but with the right tools and a bit of patience, it’s a task you can take on yourself. At Impactful Construction Group, a CA licensed contractor based in Woodland Hills, we have helped countless homeowners in the Los Angeles area, from Northridge to Sherman Oaks, successfully install tile flooring in their homes. In this guide, we will walk you through the process so that you can achieve professional-quality results on your own!
Before we get started, it’s important to note that while DIY tile installation can save you money, it requires careful planning and execution. One missed step could lead to uneven tiles or, worse, a floor that doesn’t last. But don’t worry, our experienced team at Impactful Construction Group is here to guide you every step of the way.
If you’re ready to get started, let’s roll up our sleeves and dive into the process of installing tile flooring.
Table of Contents
Toggle1. Materials and Tools You’ll Need
Before you start, it’s crucial to gather all the necessary materials and tools. The last thing you want is to halt your project halfway through because you missed something. Here’s what you’ll need:
- Tile
- Tile adhesive
- Grout
- Notched trowel
- Grout float
- Tile spacers
- Tile cutter or wet saw
- Level
- Rubber mallet
- Sponge and bucket
Remember, quality matters. Don’t skimp on these materials and tools. Investing in good quality products now can save you from headaches down the line.
2. Preparing the Surface
The key to a successful tile installation is a clean, level surface. Start by sweeping and mopping the area thoroughly. It’s crucial to remove any dust or debris that could interfere with the adherence of the tile. Once the floor is clean, check for levelness using a level. If there are any high spots, you may need to sand them down. If there are low spots, consider using a floor leveling compound.
Remember, our team at Impactful Construction Group often helps homeowners in Burbank and Encino with this step, providing expert advice to ensure a perfectly level surface.
3. Laying Out the Tiles
The next step is to lay out your tiles to determine the best arrangement. This is where you can get creative, but remember to keep in mind the overall look and feel of your room. Start by laying out the tiles in a dry run, with spacers to account for the grout lines. This step will allow you to visualize the final look and make any necessary adjustments before you apply the adhesive.
Tip: Start from the center of the room and work your way out. This approach ensures that the cut tiles will be on the edges of the room, making them less noticeable.
4. Installing the Tiles
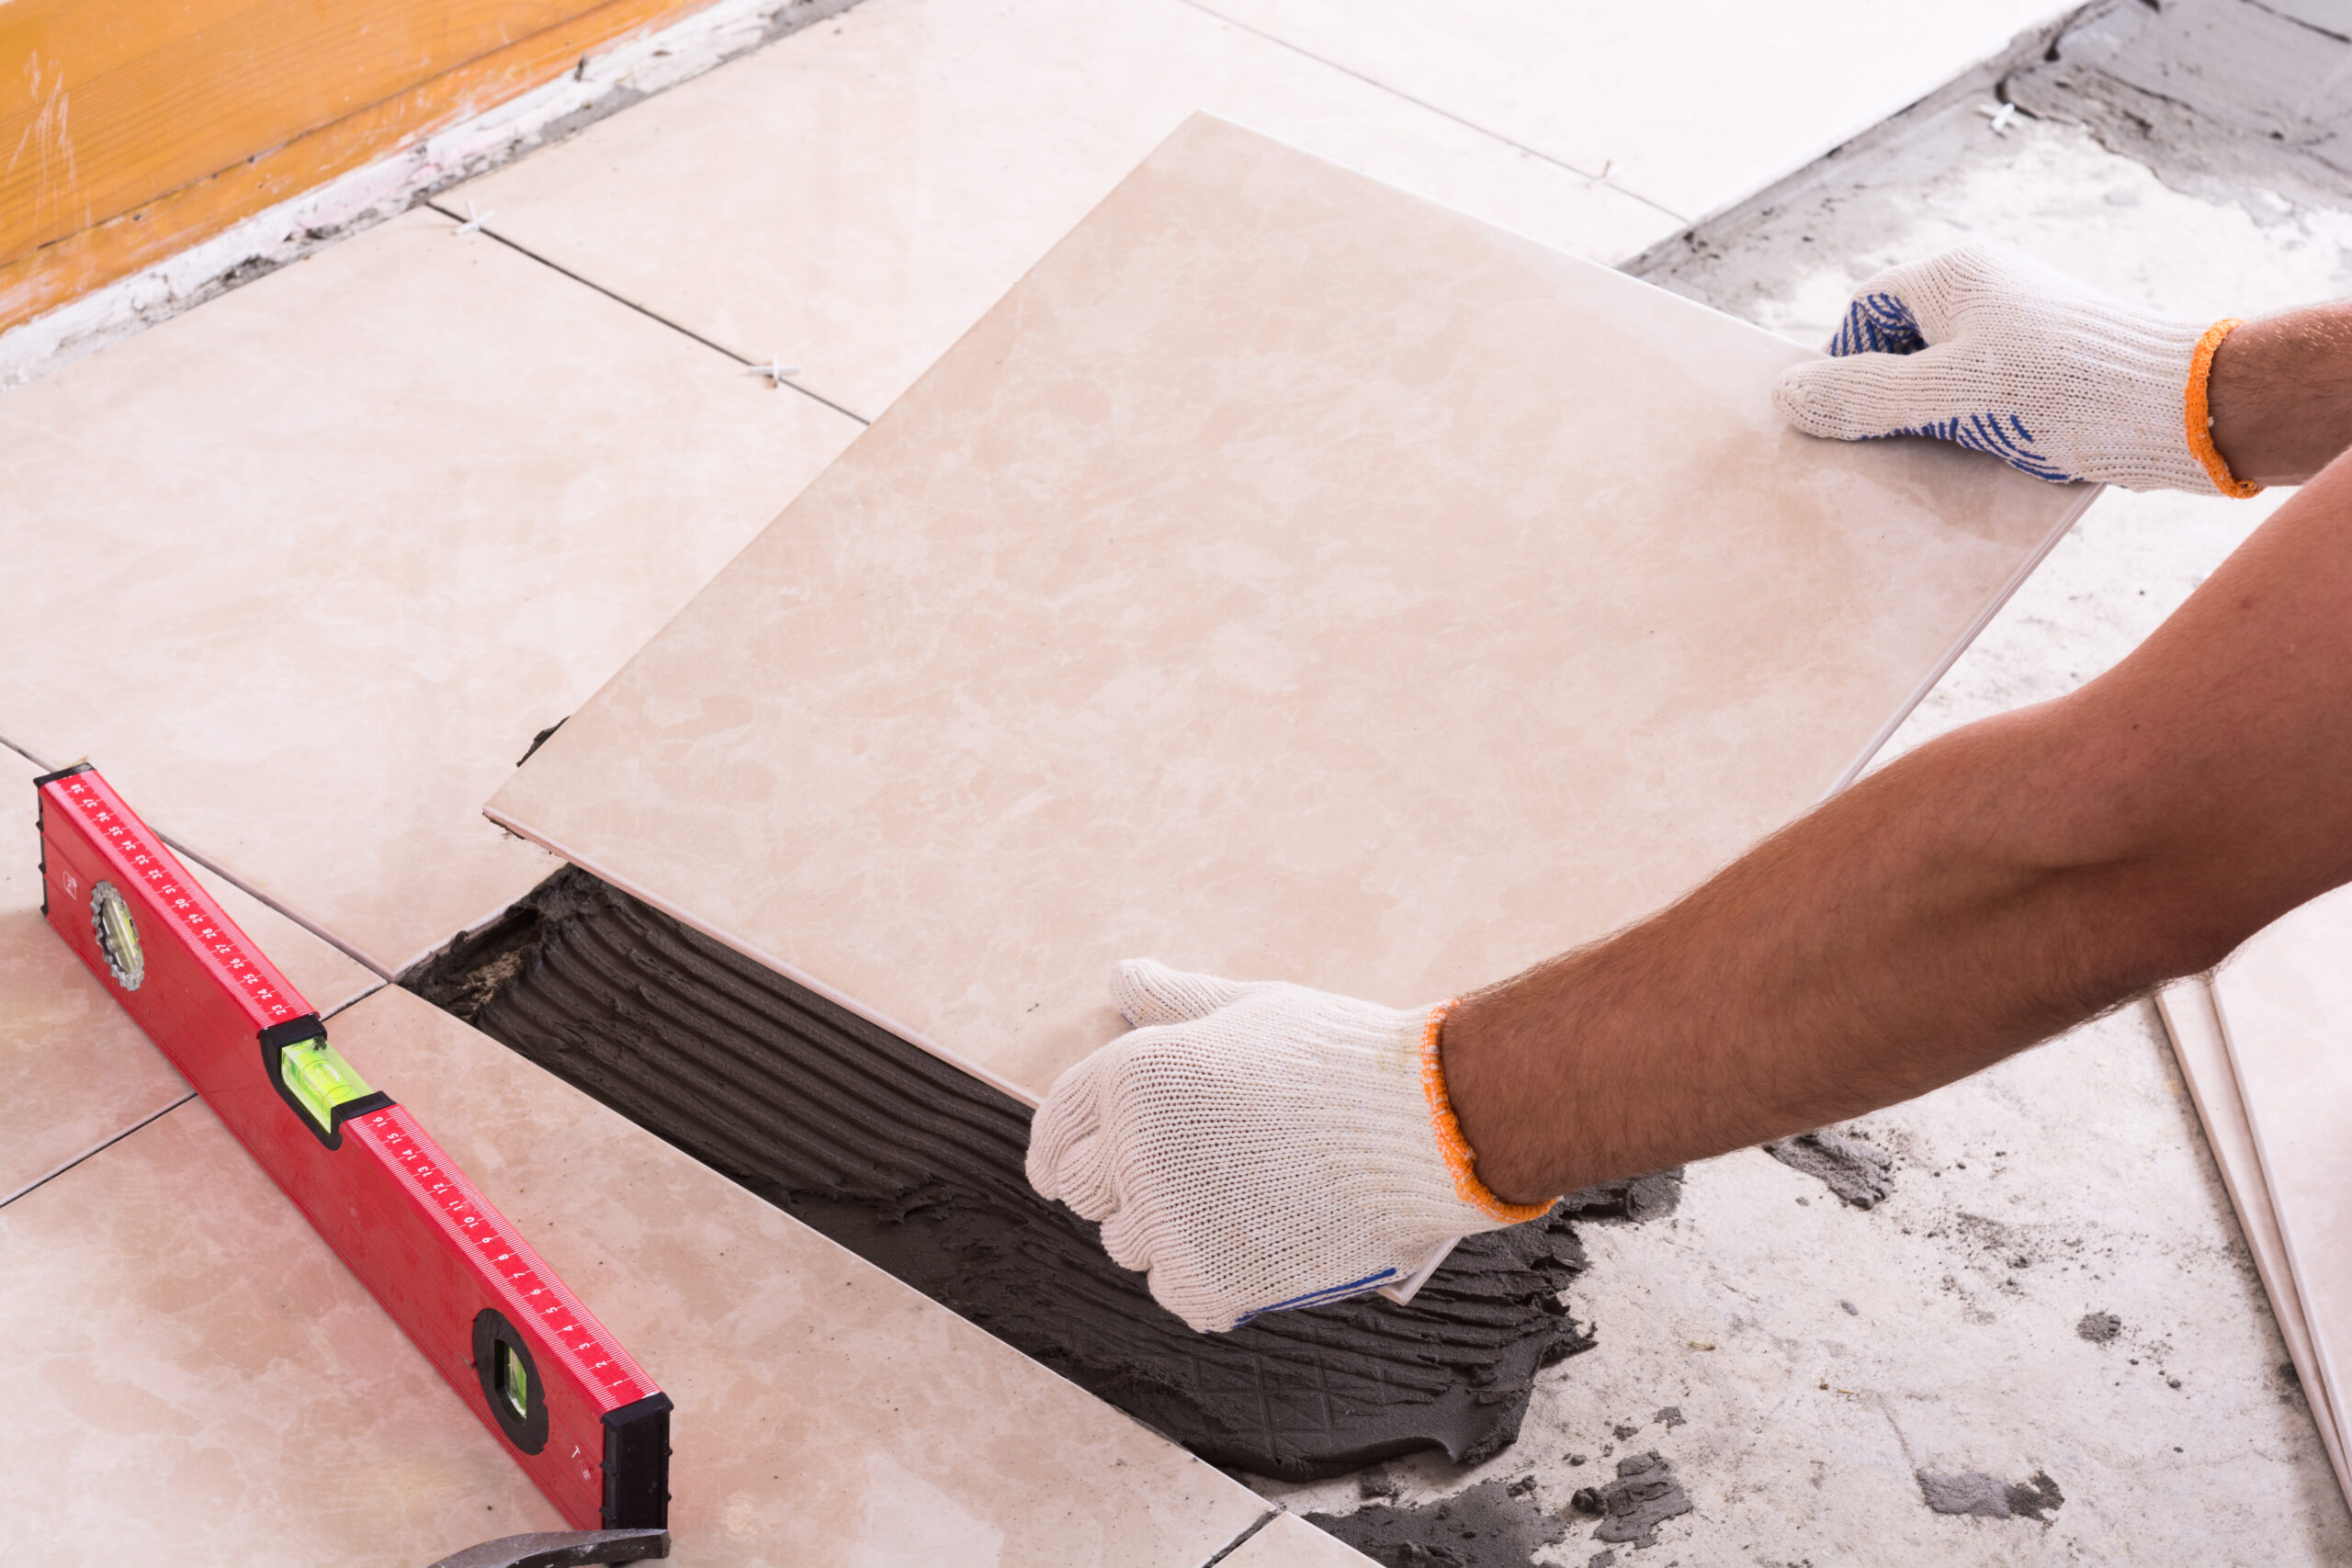
Now, it’s time to install the tiles. Start by applying the adhesive with a notched trowel. Press each tile into the adhesive, using spacers to keep them evenly apart. Once all tiles are installed, let the adhesive dry according to the manufacturer’s instructions.
Remember, patience is key here. Rushing this step could lead to mistakes, such as uneven tiles or adhesive oozing out from under the tiles. Our team at Impactful Construction Group always emphasizes the importance of following the manufacturer’s instructions to homeowners in areas like Van Nuys and Chatsworth.
5. Grouting the Tiles
Once the adhesive has fully dried, it’s time to grout the tiles. Start by applying grout with a grout float, ensuring it fills every joint. Wipe away excess grout with a damp sponge, and allow the grout to dry.
Grouting can be a messy process, but it’s a crucial one. It not only fills the gaps between the tiles but also helps to secure them in place. Remember to change your water frequently to ensure a clean finish.
FAQs
Q: Can I tile over existing tile flooring?
A: While it’s possible to install tile over existing tile flooring, it’s not always recommended. The surface must be in good condition, and you’ll need to ensure that the extra thickness won’t interfere with doors or transitions to other rooms.
Q: How much tile do I need to buy?
A: Measure the length and width of your room to calculate the square footage. Add an extra 10% to account for cuts and breakage.
Q: Can I use any type of tile for flooring?
A: Not all tiles are suitable for flooring. It’s important to choose a tile that is durable and slip-resistant. Porcelain and ceramic tiles are popular choices for flooring.
Ready to transform your space? Trust the experts at Impactful Construction Group. As CA licensed contractors based in Woodland Hills, we serve the entire Los Angeles area with premium construction and remodeling services. Call or text (323) 591-3717 for a free consultation and let’s bring your vision to life.
