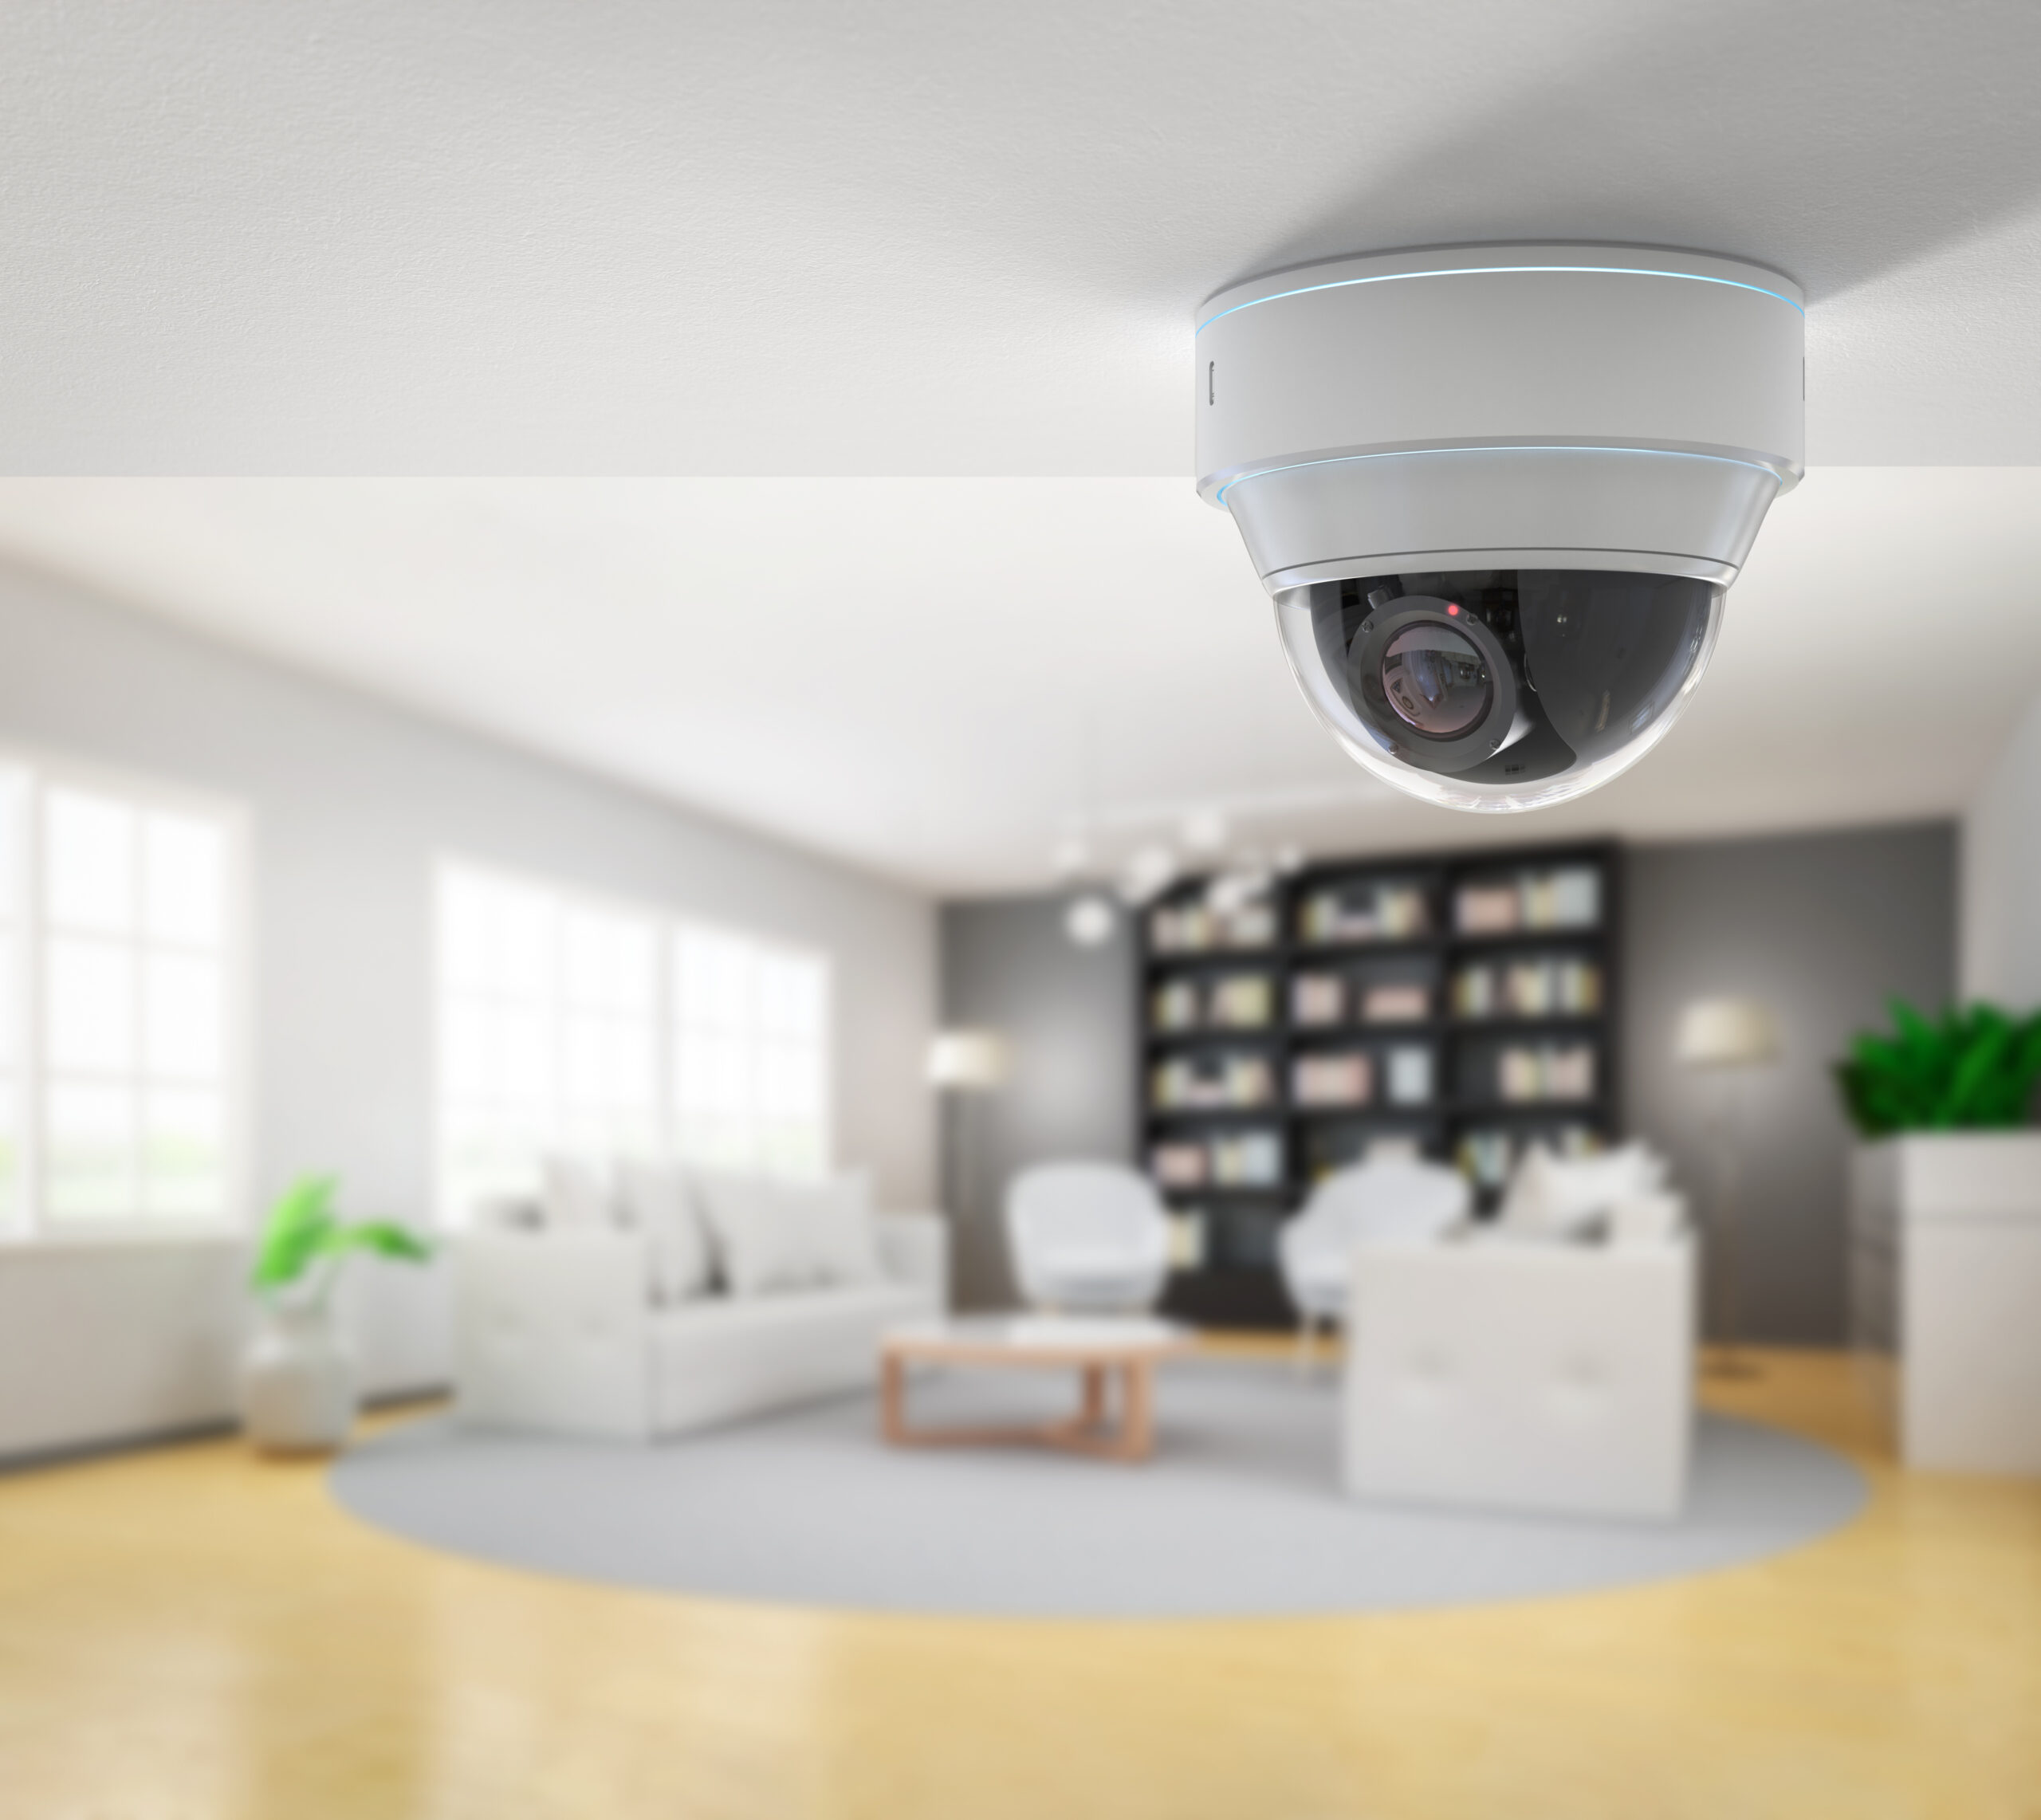
Installing a security camera system is a critical step in enhancing the safety of your home or business premises. With the rising need for improved security, many property owners in the San Fernando Valley area, including Woodland Hills, Northridge, Encino, Van Nuys, and Sherman Oaks, are investing in advanced surveillance systems. Our experienced team at Impactful Construction Group, a CA licensed contractor based in Woodland Hills, has been at the forefront in offering expert advice and installation services to meet this demand. In this blog post, we’ll guide you through the steps to install a security camera system.
Whether you’re a tech enthusiast or a novice, understanding the installation process not only saves you time but also ensures you get the best out of your security system. We will walk you through a systematic guide, providing practical tips and actionable advice to help you achieve a successful installation. Let’s dive right in!
Table of Contents
ToggleStep 1: Planning Your Surveillance Coverage
Before rushing to mount your security cameras, it’s crucial to plan your surveillance coverage. Identify the areas that you want to monitor. These could be entrances, windows, driveways, or the backyard. Our experienced team at Impactful Construction Group recommends considering the following factors:
- Size of the area: Larger areas may require more cameras or cameras with wider field of view.
- Lighting conditions: Some cameras perform better in low light conditions.
- Indoor or outdoor: Outdoor cameras need to be weather-resistant.
Step 2: Choosing the Right Security Camera System
Once you have a clear plan, the next step is choosing the right security camera system. There are various types of security cameras available in the market, each with its unique features and advantages. Depending on your specific needs, you might opt for wired or wireless cameras, IP or analog cameras, or even infrared cameras for night vision.
Step 3: Installing the Cameras
After purchasing your preferred security camera system, the next step is the actual installation. This involves mounting the cameras, running the cables, and connecting the system to a power source. Remember to place the cameras at a height where they can’t be easily tampered with. If you’re running cables, ensure they are neatly tucked away.
Step 4: Setting Up the Recorder and Monitor
To view and record the footage from your cameras, you’ll need to set up a recorder and a monitor. The recorder could be a DVR (Digital Video Recorder) or an NVR (Network Video Recorder), depending on your camera type. The monitor can be any screen – a computer monitor or a TV screen will do just fine.
Step 5: Testing and Adjusting the System
The final step is to test and adjust the system. Ensure all cameras are working and capturing the desired views. Check the recording functionality and adjust the settings to your preference. If you encounter any challenges, don’t hesitate to contact us on (323) 591-3717 for assistance.
FAQ Section
Q1: Can I install a security camera system myself?
Yes, you can. While it requires some technical know-how, our guide provides a detailed walkthrough to help you through the process. However, for a seamless and professional installation, consider hiring a licensed contractor like Impactful Construction Group.
In conclusion, installing a security camera system might seem like a daunting task, but with the right guidance, it’s achievable. Whether you’re in Woodland Hills, Northridge, Encino, Van Nuys, Sherman Oaks, or anywhere in the Los Angeles area, our experienced team at Impactful Construction Group is ready to help you enhance your property’s security.
Ready to transform your space? Trust the experts at Impactful Construction Group. As CA licensed contractors based in Woodland Hills, we serve the entire Los Angeles area with premium construction and remodeling services. Call or text (323) 591-3717 for a free consultation and let’s bring your vision to life.
