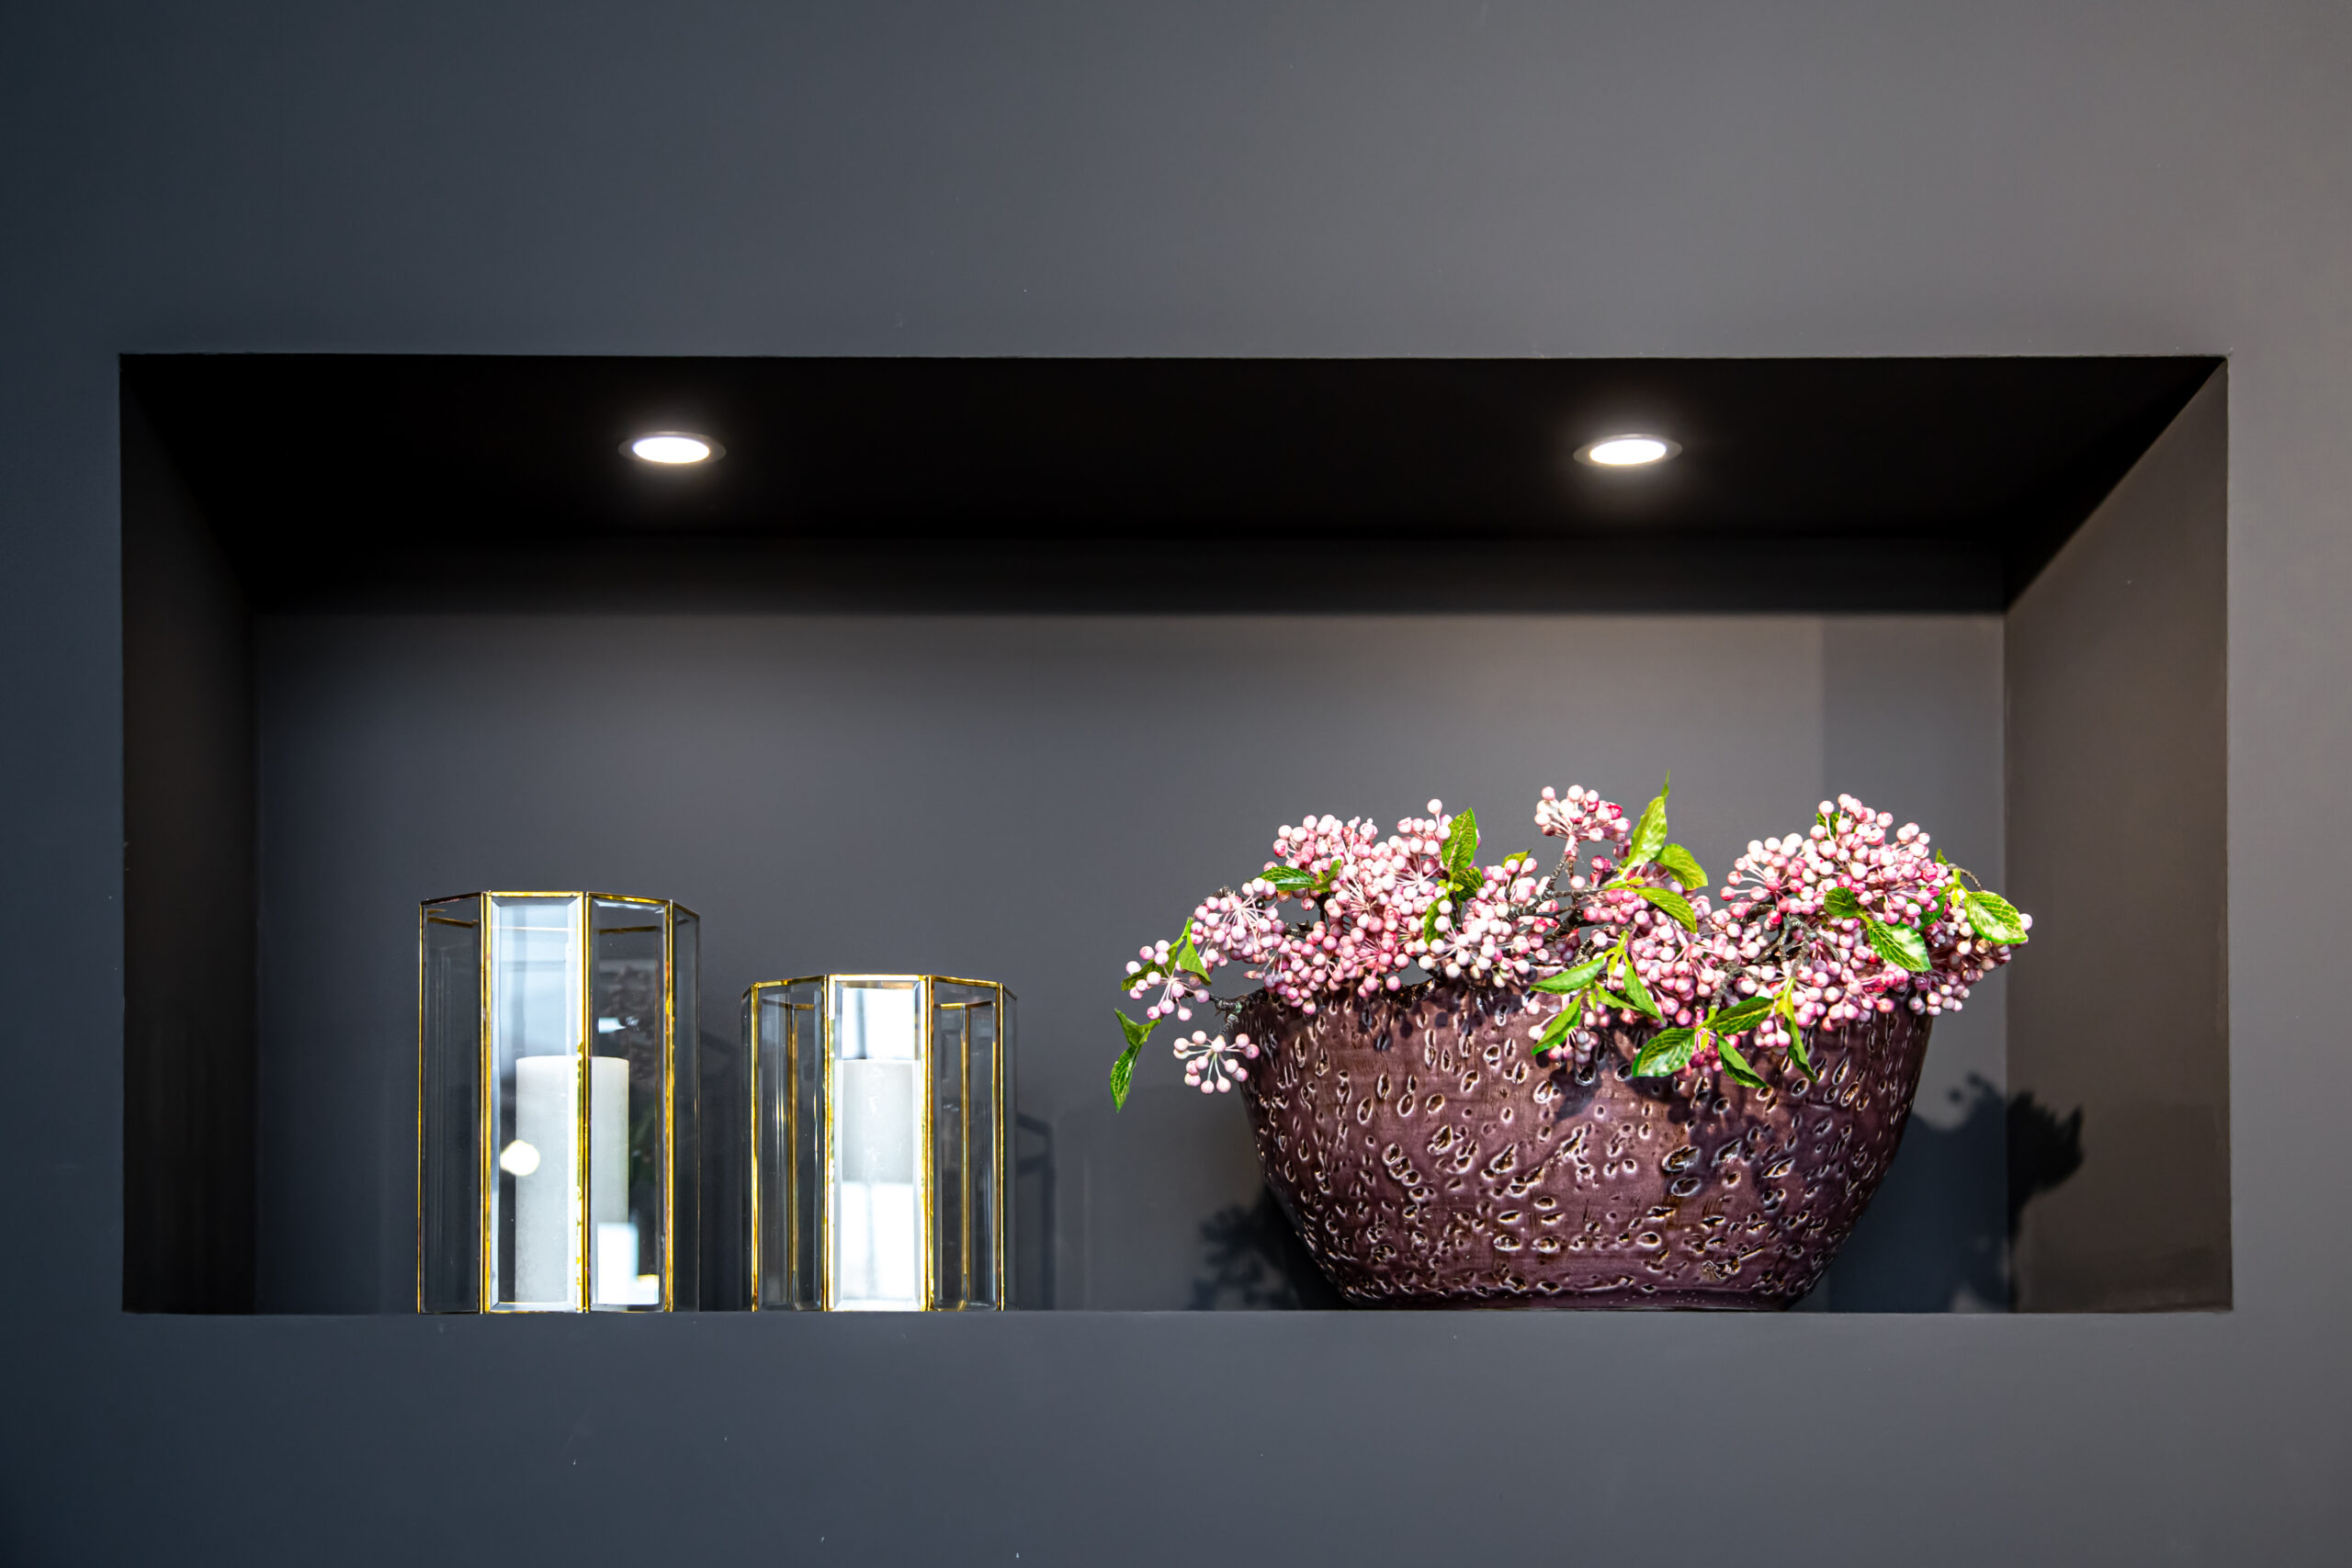
Welcome to another insightful blog post from Impactful Construction Group, a CA licensed contractor based in Woodland Hills, serving the entire Los Angeles area. Today, we’re going to talk about an often overlooked aspect of interior design – recessed lighting. Recessed lighting can provide a minimalist, sleek look to any room while also serving the practical purpose of illuminating your space. Whether you are in Burbank, Northridge, or anywhere in between, we’re here to guide you through the steps of installing recessed lighting in your home.
Recessed lighting, also known as can or pot lighting, is installed into the ceiling, so the fixture is flush with the ceiling. This type of lighting can add a modern and stylish touch to any room, and it’s particularly useful in rooms with low ceilings where hanging fixtures could be intrusive. Thanks to our experienced team at Impactful Construction Group, you can learn how to install recessed lighting in your own home.
Before we delve into the process of installing recessed lighting, it’s essential to note that electricity is involved. Therefore, you should always prioritize safety. If you feel uncomfortable or unsure at any point, don’t hesitate to call our team at (323) 591-3717 for professional help.
Table of Contents
ToggleStep 1: Planning Your Layout
The first step to installing recessed lighting is planning your layout. Consider the space you have and where the light is needed most. Is it a kitchen, a living room, or a bedroom? Each room will have different lighting needs. For instance, in a kitchen, you might want to focus the light on the countertops and cooking areas, while in a living room, the focus might be on seating areas.
As a rule of thumb, lights should be spaced about 2 feet from the wall and 4-6 feet apart from each other. However, this can vary depending on the size and shape of your room. Remember, the goal is to have even lighting distribution throughout the room.
Here are some tips to help you plan your layout:
- Use a blueprint or sketch of your room to help visualize where the lights will go.
- Consider the use of each area within the room. Task areas may need more focused lighting.
- Remember to consider the location of joists in your ceiling. You’ll need to avoid these when cutting holes for your lights.
Step 2: Choosing Your Lights
Once you have your layout planned, the next step is choosing your recessed lighting fixtures. There are many options to choose from, including various sizes, styles, and types of bulbs. If you’re in the Encino or Van Nuys area, our team at Impactful Construction Group can provide you with a wide range of options that will suit your specific needs.
Here are a few things to consider when choosing your lights:
- The size of the fixture: Recessed lights can range from 2 inches in diameter to 6 inches or more. Smaller lights are more subtle, while larger lights can provide more illumination.
- Type of bulb: LED bulbs are a popular choice due to their energy efficiency and long life span. Halogen and incandescent bulbs are also available.
- The trim style: This is the visible part of the light. It can be baffle (most common), open, eyeball, or gimbal, among others. Choose a style that suits your room’s decor.
Step 3: Installing the Lights
Now comes the actual installation process. Remember, safety first. Always make sure the power is turned off at the breaker before you start working with electrical wiring. If you’re not comfortable doing this yourself, our experienced team at Impactful Construction Group is just a call away.
Here’s a step-by-step guide on how to install the recessed lights:
- Using your planned layout, mark the locations for the lights on your ceiling.
- Using a hole saw, cut holes in the ceiling at the marked locations.
- Wire the light fixtures following the manufacturer’s instructions.
- Insert the housing into the hole and secure it as directed by the manufacturer.
- Attach the trim and install the light bulb.
Step 4: Checking Your Work
Once you’ve installed your recessed lights, it’s time to check your work. Turn the power back on at the breaker and test each light to make sure it’s working properly. If you encounter any problems or something doesn’t seem right, don’t hesitate to seek professional help.
If you’re in the San Fernando Valley or Los Angeles area, our team at Impactful Construction Group is always ready to assist you with your lighting installation needs.
FAQs
Q: How many recessed lights do I need in a room?
A: The number of lights you’ll need depends on the size of the room and the purpose of the lights. A good rule of thumb is to place your lights so that they’re spaced 4-6 feet apart from each other and 2 feet from the wall.
Q: Can I install recessed lighting in a finished ceiling?
A: Yes, you can install recessed lighting in a finished ceiling. You’ll need to cut holes for the lights, so be prepared for some drywall repair and painting.
Q: Is it safe to install recessed lighting myself?
A: It’s generally safe if you’re comfortable with DIY projects and have a basic understanding of electrical work. However, if you’re unsure or uncomfortable at any point, it’s best to call in a professional.
And that brings us to the end of our comprehensive guide to installing recessed lights. Remember, whether you’re in North Hollywood, Sherman Oaks, or anywhere else in the Los Angeles area, our team at Impactful Construction Group is always ready to help with your home improvement projects.
Ready to transform your space? Trust the experts at Impactful Construction Group. As CA licensed contractors based in Woodland Hills, we serve the entire Los Angeles area with premium construction and remodeling services. Call or text (323) 591-3717 for a free consultation and let’s bring your vision to life.
